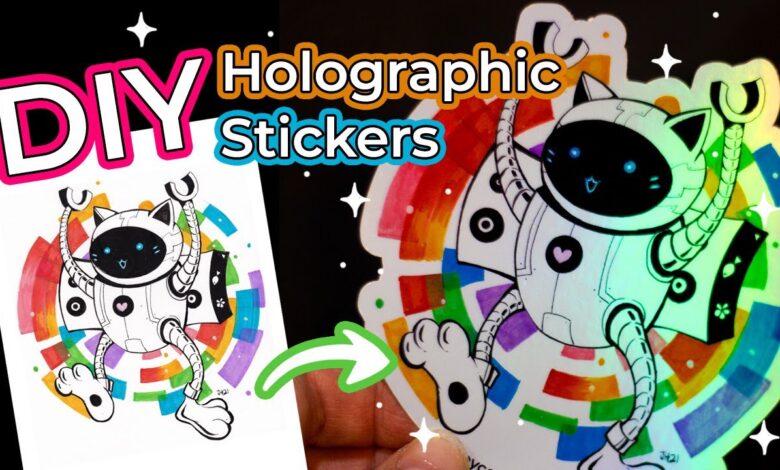
Holographic stickers are a dazzling trend in the world of DIY crafts and personalization. With their shimmering, rainbow-like finish, these stickers can add a touch of magic to anything from notebooks to phone cases. If you’ve ever marveled at the hypnotic patterns of holographic designs and wondered how to make your own, this guide is for you. Learn how to create stunning DIY holographic stickers at home with our comprehensive, step-by-step instructions.
What Are Holographic Stickers?
Holographic stickers are decorated with a special film that reflects light to create a multi-dimensional effect. The result is a glossy, iridescent surface that changes color as it catches the light. These stickers can be used for a variety of purposes, including customizing personal items, creating unique gifts, and even marketing products.
Materials You’ll Need
Before diving into the creation process, gather the following materials:
- Holographic Sticker Paper: This is the essential component of your project. Holographic sticker paper is available in various colors and finishes, so choose one that suits your design needs.
- Design Software: Use graphic design software like Adobe Illustrator, Photoshop, or free alternatives like GIMP and Inkscape to create your designs.
- Printer: An inkjet or laser printer works best for printing your designs onto holographic paper.
- Cutting Tool: Depending on the complexity of your design, you may need a cutting machine like a Cricut or Silhouette. Alternatively, you can use craft scissors or an X-Acto knife for manual cutting.
- Laminating Sheets (Optional): For extra durability and a glossy finish, consider using laminating sheets.
- Transfer Tape (Optional): This helps in transferring the sticker to the desired surface smoothly.
- Clear Sealant (Optional): To protect your stickers and make them water-resistant, a clear acrylic spray or liquid sealant is useful.
Creating Your Holographic Stickers: Step-by-Step Guide
Step 1: Design Your Stickers
Start by creating a design that you want to turn into a holographic sticker. Whether it’s a logo, a favorite quote, or a piece of original art, make sure your design is high-quality and colorful. Here’s how to get started:
- Open your design software and set up a new document. Adjust the dimensions according to the size of your holographic sticker paper.
- Create your design or import an existing one. Ensure that your design is vibrant and stands out against the holographic background.
- Save your file in a high-resolution format. Common formats include PNG, JPEG, or PDF.
Step 2: Print Your Design
With your design ready, it’s time to print it onto the holographic sticker paper.
- Load the holographic sticker paper into your printer. Check the manufacturer’s instructions to ensure you’re using the correct side of the paper.
- Print a test page on regular paper to verify colors and layout.
- Print your design onto the holographic paper. Allow the ink to dry completely before handling.
Step 3: Cut Out Your Stickers
Once your design is printed and dried, it’s time to cut out your stickers.
- If using a cutting machine, upload your design to the software that comes with the machine. Follow the instructions to cut out your stickers accurately.
- For manual cutting, use craft scissors or an X-Acto knife to carefully cut out each sticker. For intricate designs, consider using a cutting mat to protect your surfaces.
Step 4: Apply a Laminating Sheet (Optional)
To add extra protection and enhance the shine of your stickers, apply a laminating sheet.
- Cut a laminating sheet slightly larger than your stickers.
- Place the laminating sheet over your stickers and use a ruler or card to smooth out any bubbles.
- Trim the excess laminating sheet around your stickers.
Step 5: Seal Your Stickers (Optional)
For additional durability, especially if your stickers will be exposed to moisture, use a clear sealant.
- Spray or brush a thin layer of clear acrylic sealant over your stickers.
- Allow the sealant to dry according to the manufacturer’s instructions.
Step 6: Apply Transfer Tape (Optional)
If you want to transfer your stickers onto a different surface without losing their shape, use transfer tape.
- Cut a piece of transfer tape slightly larger than your sticker.
- Place the transfer tape over the sticker and smooth it out.
- Peel off the backing paper from the sticker and transfer tape, and apply the sticker to your chosen surface.
Tips for Perfect Holographic Stickers
- Use high-quality paper and ink for the best results. Low-quality materials may not show the full potential of the holographic effect.
- Ensure your design has enough contrast to stand out against the holographic background. Darker designs tend to work better.
- Practice on a small scale before creating large batches of stickers. This will help you perfect your technique.
- Store your stickers properly in a cool, dry place to prevent them from sticking together or getting damaged.
Conclusion
Making your own holographic stickers is a fun and rewarding DIY project that allows you to add a personal touch to your belongings. With the right materials and a bit of creativity, you can produce eye-catching stickers that are perfect for personal use, gifts, or even marketing. Follow this guide to create your shiny, iridescent creations and enjoy the process of designing and crafting your unique stickers at home.